Friday, 12 February 2016

Storyboard: edited version & our final plotline

Storyboard: editing version 


After reviewing our first storyboard we decided to change parts of our film opening. One of the major changes to our story line was the addition of a 'Youtube'-like beginning, where the main protagonist is filming herself (using a handheld shot). This is accompanied with a screen overlay of the 'REC' sign, we decided to include this because it is extremely common and modern to be 'vlogging' on youtube and other social media websites.


  • We added several glitches and CGI effects from start to finish
  • We cut out some of the 'boring' and tedious scenes where it could make the film opening quite slow.
  • More tension and suspense was added by a scene of the killer preparing to 'kill' the character
  • Tracking shots, extreme close ups, high angle shots and neutral shots are still included in the film opening
  • We also included the title at the end of the opening 'The Unknown'
  • Originally, we were going to name the film 'Ignotis' which is Latin for 'The Unknown', however we decided to scrap the idea because it would be difficult to explain the origins of the name.
  • As mentioned in our focus group post, it was highlighted that our narrative was unclear therefore we redesigned the story board to make it more clear to the audience
  • we decided that the main protagonist (Rachel) should also die and therefore is 'forced' to vlog her own death.  


Our final plotline:

The plot for our story is as follows:
  • A young teen is 'blogging' her day and it is implied that the girl is a successful youtuber
  • since she is an internet sensation - it is clear that she relies heavily on technology
  • she talks about her boyfriend coming over and the planned day
  • door bell rings, she makes it to the middle of the stairs
  • power cuts off
  • audience see blackness & hear panting
  • young teen is forced to 'blog' her own death
  • scenes of struggling by the young teen
  • killer is seen, and has also killed her boyfriend
  • montage of bf death and fast cuts of killer with glitches will be shown
  • killer walks out of killing location (garage) 
  • turns head and you can see the killer 
  • (film title inserted after this)
This is a short, rough digital version of our storyboard:

Pulse trailer Deconstruction


The editing used when the girl walks into the room is really effective in building a sense of horror. It was used in conjunction with high frequency music and an animal scream whilst the screen became white for a short amount of time. By cutting between frames of the girl and glitches at high speed the importance of technology in the plot is suggested.  The extreme close up of her face when saying "oh my God" reveals the black marks around her eyes running, which suggests she has been crying, it then cuts to the typography after a very high pitch scream is heard. by doing so a sense of fear is created in the audience as the reason for her tears and the scream are not clear.

Maddy has a very plain face, which is typical for a final girl, though she may not be, her very loose fitted clothing does not give one the suggestion of promiscuity.
Her white T-shirt has red writing on it, this may connote that even the purist people will see blood shed, or have to shed blood.
Although her hair is not tied back it is a very simple hair style, nothing to fancy, this again fits in with the final girl theory.

This sequence is not an opening but a trailer, the use of glitch editing is something we would like to use in our opening as it conveys the idea of horror through technology.

The high angle used at the opening of the sequence may connote how regardless of their effort the imminent horror cannot be beaten. The colours employed at this scene are not very bright which is emphasised by the lighting which is low key denoting the lack of light in the situation, in the sense that nobody is aware of what is happening.

Character Profiles

Name: Rachel Bridgit
Age: 17
Occupation: College Student. Part time work in her free time for River Island
Hobbies/Interests: Fashion and Beauty. Enjoys 'vlogging' about her lifestyle
Part in film: main
protagonist
Name: Daniel Tyler
Age: 18
Occupation: Full time work at his dads plumbing business
Hobbies/Interests: Enjoys football and hanging out with his friends. Takes an interest in fixing things. One day hopes to run his fathers plumbing business.
Part in film: Protagonists boyfriend.

Name: The killer
Age: 20
Occupation: N/A
Hobbies/Interests: Computer Hacker, stalks girls and their lives
Part in Film: Main antagonist.

Tuesday, 9 February 2016

Fliming day checklist

Filming Day Items Checklist

Here are some examples of the props/ locations we needed for filming and these had to ne kept constant throughout our filming days.
  • Camera
  • SD card
  • Costumes- pink top and blue jeans for the girl. Back mac and black jeans for the killer. Blue jeans and a jumper.
  • Mise en scene- bedroom and garage
  • Makeup- wounds (neck)
  • knife for the killer- covered in fake blood
  • Mask
  • Members of group- 4
  • Tripod
  • Night setting- pathetic fallacy of the moon
  • Garage setting available
Filming Days
We filmed for 8 hours on 3 different days and this footage was removed due to a change in character and plot idea. Our plot became too complicated so therefore we had to make it more simple for the audience by playing around with different plot lines. 

Saturday 19th December 
On this day I filmed the opening scene where my character is vlogging to the audience for her vlog. We made a simple script as a group and i then continued to recite this in the film so that i didn't spend too much time waffling. After gaining this footage we uploaded it to the computer off the SD card for editing.

Tuesday 21nd December
On this day as a group we filmed the murder scene of the male character, this involved us spending time on mise en scene as the male character had his neck slashed. We then located to my housegarage and filmed the murder scene, this took roughly an hour and a half to film as we got numerous camera shots from different angles and movements. After gaining this footage we uploaded it to the computer off the SD card for editing.

Wednesday 23rd December
The next scene we filmed was the main girl walking down the stairs and the lights black out in the hallway due to the killer turning the lights off at the mains supply. This did not take too long to film as it was quite simple.


Monday 8th Feburary
Saturday 26th March
For the above dates we edited and re-filmed all mistakes. The re-filmed days post can be found here

Wednesday, 27 January 2016

Editing skills: Glitches and distortion effects

Editing skills: Glitches and distortion effects 

The actual film opening will heavily rely on editing, for example we plan to edit and create our own 'glitch' and distortion effects. From research, we found that there are a number of programs that can help create this look, for instance:

  • Adobe After Effects
  • Final Cut Pro
  • Adobe Premier Pro
We found that these programs have a variety of effects that we think would be suitable for the opening. 

Adobe After Effects - costs money
  • This particular program can only be used with a payment method however,  we were able to access it as I had the program at home. 
  • There are a variety of free effects including glitches, colour changes, distortion and static. 
Final Cut Pro - available at school 
  • Compared to the Adobe After Effects, although it is free as we can use it from the school Macs, we found that there are less effects that are useful to us for our project.
Adobe Premier Pro - costs money
  • Similar to the After Effects program, it costs money but we do have access to it, this particular software also has a range of effects and both the Adobe after effects and premier pro are able to combine together.
  • As both programs can work together, this is easy to create our glitches and effects. 
Learning the editing skills:

From watching numerous YouTube tutorials it is clear that creating our own effects and glitches is not easy. These effects are extremely intricate and time consuming, therefore we have decided to try and get a few starter packs, these were free and available on rampantdesigntools.com. This company offers free effects packs that can be used for any type of project, they also have step by step tutorials which will help us to create our own.


Tutorials


Tuesday, 26 January 2016

Research Survey


From this pie chart you can see I have asked about the protagonist for the film. From my results, it's clear to see that using a young girl would be most effective. This might be because they are stereotyped as being most vulnerable out of the options given. This will help gain sympathy from the audience as they will want her to survive.


As the mask in an essential prop to our horror movie, it had to be just right. Picking the right colour is crucial to making the film effective. I think black was the most popular choice as the dark colour connotes danger, death, eerie atmospheres and the end of things. Perfect for a horror movie!

Titles are one of the first things to grab the audiences attention so I chose this question from the survey as I wanted to find out what the demographic would like. 'The unknown' was the most popular choice so I will use that for the horror movie.

Monday, 25 January 2016

Make up and mask designing

Make up 

For our film opening, we decided to firstly test the types of cuts and bruises that will be used in the killing scene. We brought and used the following products and researched on YouTube tutorials that would help us in this process:

  • Liquid latex
  • Fake blood
  • Face paint
  • Paint
  • Foundation
  • Eye shadow
  • Bronzer
  • Make up brushes
  • Thread/string
The following videos were extremely helpful to us when we were trying out the types of wounds that would look good:


These were some of the few that were extremely helpful as they were easy to understand with the step by step guides. The video below is an example of what our experiments turned out like, there you can see some of the bruising make up and an open wound. The open wound was created by adding a mixture of liquid latex, foundation and tissue in order to create the 'scar' effect. 


Masks
We decided quite early on that we were going to have a masked killer, and for our initial inspiration, we looked at the typical masks that the successful slasher movies had. These included masks from Scream and Texas Chainsaw Massacre, here are some of the masks that we took inspiration and ideas from: 


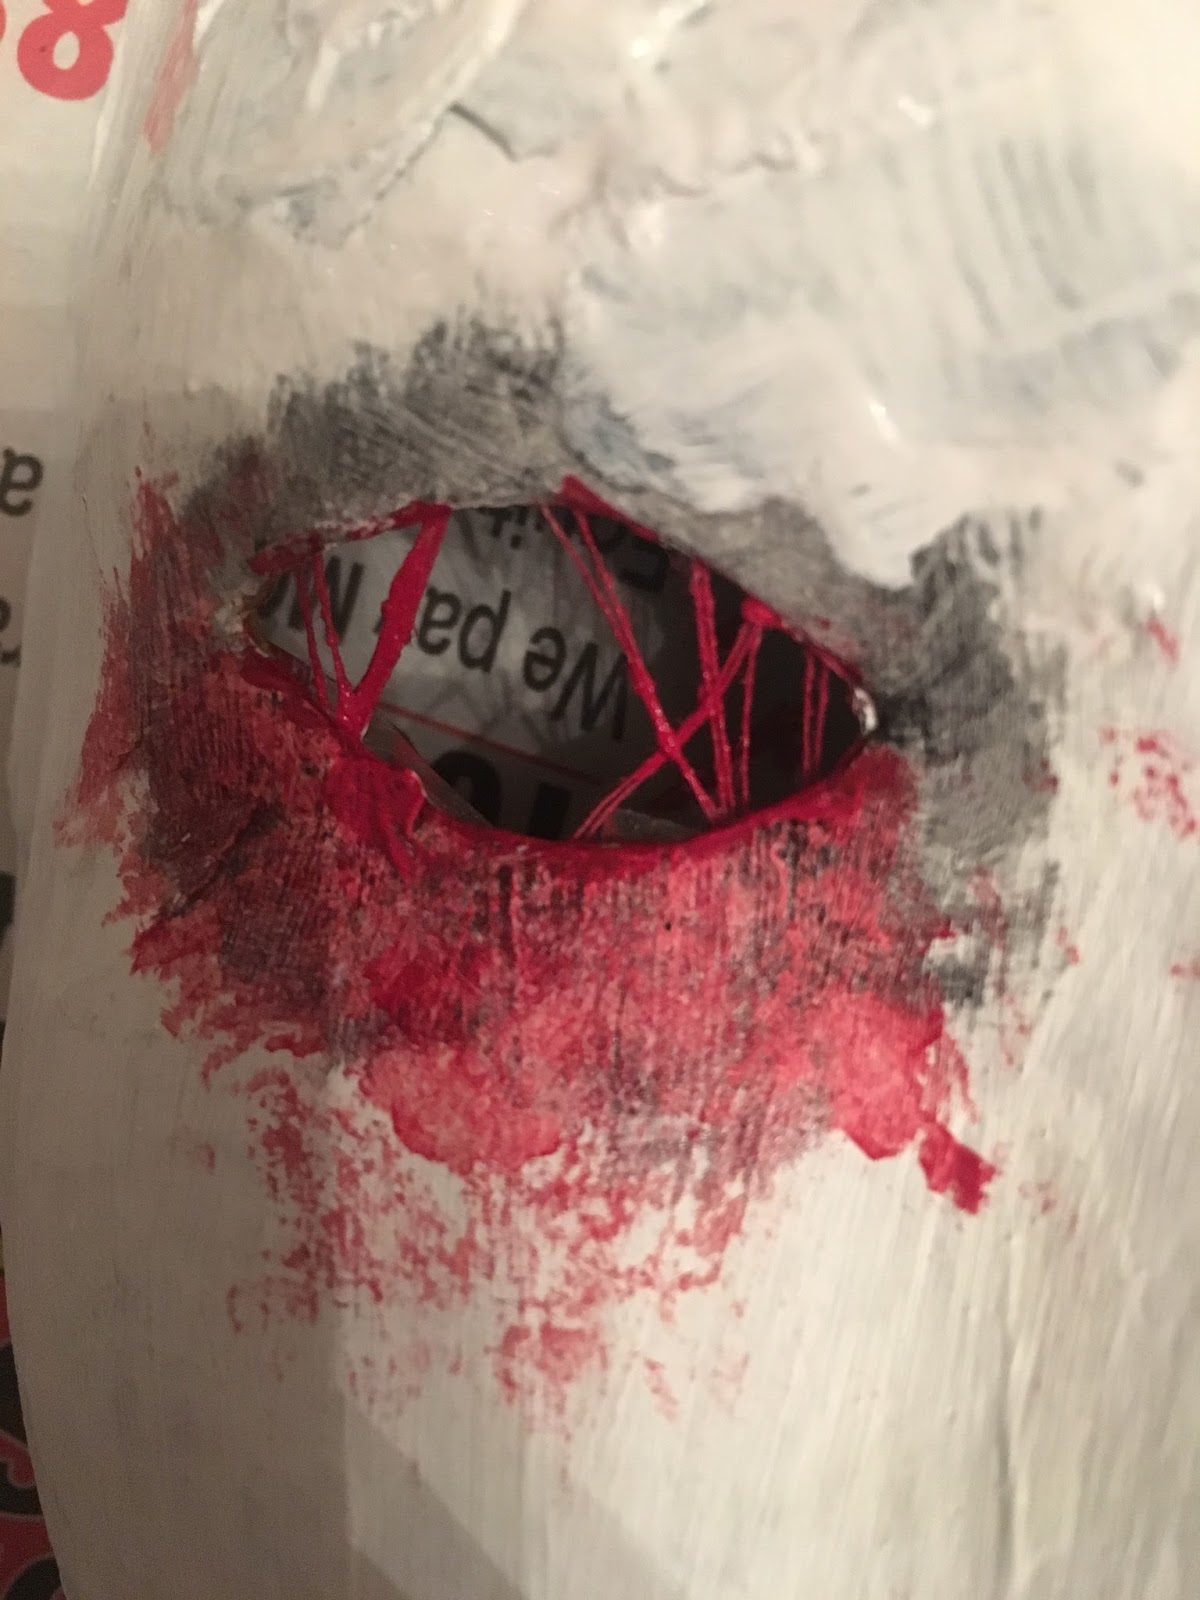
From research, we found that masks were typically white so we decided that our background colour of the mask would be painted in a thick layer of white acrylic paint. We purchased the base of our mask which was made from hard card and papier mache, this look extremely realistic. 

Our mask:


We did several trials on the masks, including a black version, however we decided that the mask looked extremely amateurish and was not completed to a high enough standard. Therefore we stuck to the white idea and added splashes of red and black. The eyes were covered with thread and painted red also. The colour red is extremely symbolic and is a colour that is always associated with horror movies.


The final product


 This is our final product, we decided to add a 'mouth' like feature which would grab the attention of the audience further. The white contrasts greatly with the dark and sinister red and black colour scheme.