After finishing our film opening, we wanted to see the reactions from our audience so we asked them to watch the opening and give us their opinions on it. We posted the video onto various social media platforms and received the following feedback:
Our conclusion
The fact that many people said it was tense and scary at some points reinforces the age certificate that we awarded the video. We rated the video a 15 due to the use of weapons and implied violence. In addition, one person had said that it would have been better if there were scenes of the girl dying, however we managed to explain that the video is merely an opening and therefore the idea is that it is 'to be continued'.
In order to make our film opening look as realistic as possible, we used the idea of a 'vlog' throughout the film. This was achieved through both the use of a Final Cut Pro filter and also Photoshop. This was one of many programs that we used for our film opening, these posts can be found here
Firstly, we used a template of a youtube screen, which we then edited in order to make it look realistic. Below is an image of the original screenshot:
The eraser tool helped us to eliminate any unnecessary text and make it our own
We added a new title, changed the account name to suit our character and also added a new profile picture
After editing a series of youtube templates, we then inserted the image onto final cut
We placed the image below our footage, this allowed us to resize the footage and place it into the empty 'youtube' screen.
This worked well as it creates the image of our character actually being a youtube star.
This process was also repeated for the fast cut boyfriend scenes which illustrates that the killer is filming the Bf's death
We decided to use a series of clips which included the youtube overlay because it shows her youtube journey up until the day of her 'death'
In order to create a series of glitches, effects and our title sequence, we decided to use both Adobe After Effects and Premier pro. These two programs were vital, (along with Final Cut Pro) in our process of creating a film opening.
The inspiration and help
If you refer back to our editing programs post, we decided to revert to Youtube tutorials and professional websites which guided us to create our own effects.
This particular tutorial was vital in helping us to produce our killer glitches:
One reason why we used this particular video was because it had thousands of views with positive comments - this encouraged us to use this video as help and inspiration as it was simple to follow
Timing is a big factor and many videos and tutorials that we found lasted around 45 mins or more. This is why we chose this video as it only lasted 17 mins which meant that it was simplified for the audience.
In addition, the use of visual aids such as Youtube videos were extremely useful as you are able to pause and complete the step. You can also actually see what you need to press etc - this is better than step by step written instructions because they can be misinterpreted.
The killer's montage/glitches
The killer's glitches were edited and created on After Effects and took around 1 hour to perfect and complete.
Firstly, we cut the clips that needed glitches and imported them onto the program, where we started off adding a range of default After effects filters. These defaults included both 'distort' 'smear' and 'griddler'.
These default effects had to be adapted to the actual video and had to be synchronous too
The horizontal lines effect was the effect 'griddler' and in order to make them extremely small, we had to change the width and height of the lines. This can be found in the left hand bottom corner, where there are a variety of tools
Under this, we were also able to change the colour of the video and create a Red, Blue & Green colour effect
Along with this, you are able to see a moving glitch that runs up and down the killer's face
To do this, we had to create a new composition and add the 'smear' effect' In order for the effect to move up and down, we had to drag the small transform dots.
After dragging these dots to the top of the page ( outside of video) we had to create a keyframe for the 'smear' effect. These key frames set the precise times in which the effect moves up and down.
The black & white typing screen
For the glitch that pops up from time to time on our film opening, we also used After effects, but this time we imported a picture from google.
This picture was found under the 'Verbose mode' title and after watching a series of movies for inspiration, the 'verbose' effect created an idea that the person was 'hacking' into the device of the character.
In order to create a typing effect, we watched this particular video to get some help:
For the green glitch, we used the default 'griddler' effect once again, but adjusted the width of each line that appeared and also managed to change the colour of the glitch.
Green was the colour we decided on because we knew that it would be eye catching and allows the audience to ask questions on what just 'popped' up.
The BBFC examines and age rates films and videos before they are released.
They watch films and videos all the way through and award an age rating and BBFCinsight to each one. They then reach an age rating by applying the standards and criteria contained in the Classification Guidelines.
Typically, two examiners view a film for theatrical release. In most cases a Senior Examiner will confirm the examiners’ recommendation.
With our film opening being in the technological horror genre, it is clear that we have to distinguish the rating in which our movie should be. This will allow younger and more sensitive viewers to avoid watching the film opening. There are a range of ratings for horror movies, these include:
Suitable for all - A U film should be suitable for audiences aged four years and over. However, it is impossible to predict what might upset a particular child, especially at this lower end of the category range.
Parental guidance - his means a film is suitable for general viewing, but some scenes may be unsuitable for young children. A PG film should not unsettle a child aged around eight or older. Parents should consider whether the content may upset younger, or more sensitive, children. Cinema release suitable for 12 years and over - video works classified 12 contain material that is not generally suitable for children aged under 12. No one younger than 12 may see a 12A film in a cinema unless accompanied by an adult. Adults planning to take a child under 12 to view a 12A film should consider whether the film is suitable for that child Video release suitable for 12 years and over DIFFERENCE between the two- The 12A requires an adult to accompany any child under 12 seeing a 12A film at the cinema. The 12 is also a simpler system for retailers. It means they cannot sell or rent the item unless the customer is over the age of 12. Suitable only for 15 years and over - 15 rated works are not suitable for children under 15 years of age. - movies rated this may include:
strong violence
frequent strong language (e.g. 'f***').
portrayals of sexual activity
strong verbal references to sex
Suitable only for adult - not suitable for those under 18 and may include:
very strong violence
frequent strong language (e.g. 'f***') and / or very strong language (e.g. ‘c***’)
strong portrayals of sexual activity
scenes of sexual violence
strong horror
strong blood and gore
After reviewing the types of ratings that we could give our film opening, it was decided that we should place a 15 age restriction on our film opening. This is primarily due to the blood and use of weapons within film. These items could cause upset to younger views and therefore it is a good decision not to risk harm to young people.
After reviewing our first storyboard we decided to change parts of our film opening. One of the major changes to our story line was the addition of a 'Youtube'-like beginning, where the main protagonist is filming herself (using a handheld shot). This is accompanied with a screen overlay of the 'REC' sign, we decided to include this because it is extremely common and modern to be 'vlogging' on youtube and other social media websites.
We added several glitches and CGI effects from start to finish
We cut out some of the 'boring' and tedious scenes where it could make the film opening quite slow.
More tension and suspense was added by a scene of the killer preparing to 'kill' the character
Tracking shots, extreme close ups, high angle shots and neutral shots are still included in the film opening
We also included the title at the end of the opening 'The Unknown'
Originally, we were going to name the film 'Ignotis' which is Latin for 'The Unknown', however we decided to scrap the idea because it would be difficult to explain the origins of the name.
As mentioned in our focus group post, it was highlighted that our narrative was unclear therefore we redesigned the story board to make it more clear to the audience
we decided that the main protagonist (Rachel) should also die and therefore is 'forced' to vlog her own death.
Our final plotline:
The plot for our story is as follows:
A young teen is 'blogging' her day and it is implied that the girl is a successful youtuber
since she is an internet sensation - it is clear that she relies heavily on technology
she talks about her boyfriend coming over and the planned day
door bell rings, she makes it to the middle of the stairs
power cuts off
audience see blackness & hear panting
young teen is forced to 'blog' her own death
scenes of struggling by the young teen
killer is seen, and has also killed her boyfriend
montage of bf death and fast cuts of killer with glitches will be shown
killer walks out of killing location (garage)
turns head and you can see the killer
(film title inserted after this)
This is a short, rough digital version of our storyboard:
The actual film opening will heavily rely on editing, for example we plan to edit and create our own 'glitch' and distortion effects. From research, we found that there are a number of programs that can help create this look, for instance:
Adobe After Effects
Final Cut Pro
Adobe Premier Pro
We found that these programs have a variety of effects that we think would be suitable for the opening.
Adobe After Effects - costs money
This particular program can only be used with a payment method however, we were able to access it as I had the program at home.
There are a variety of free effects including glitches, colour changes, distortion and static.
Final Cut Pro - available at school
Compared to the Adobe After Effects, although it is free as we can use it from the school Macs, we found that there are less effects that are useful to us for our project.
Adobe Premier Pro - costs money
Similar to the After Effects program, it costs money but we do have access to it, this particular software also has a range of effects and both the Adobe after effects and premier pro are able to combine together.
As both programs can work together, this is easy to create our glitches and effects.
Learning the editing skills:
From watching numerous YouTube tutorials it is clear that creating our own effects and glitches is not easy. These effects are extremely intricate and time consuming, therefore we have decided to try and get a few starter packs, these were free and available on rampantdesigntools.com. This company offers free effects packs that can be used for any type of project, they also have step by step tutorials which will help us to create our own.
For our film opening, we decided to firstly test the types of cuts and bruises that will be used in the killing scene. We brought and used the following products and researched on YouTube tutorials that would help us in this process:
Liquid latex
Fake blood
Face paint
Paint
Foundation
Eye shadow
Bronzer
Make up brushes
Thread/string
The following videos were extremely helpful to us when we were trying out the types of wounds that would look good:
These were some of the few that were extremely helpful as they were easy to understand with the step by step guides. The video below is an example of what our experiments turned out like, there you can see some of the bruising make up and an open wound. The open wound was created by adding a mixture of liquid latex, foundation and tissue in order to create the 'scar' effect.
Masks
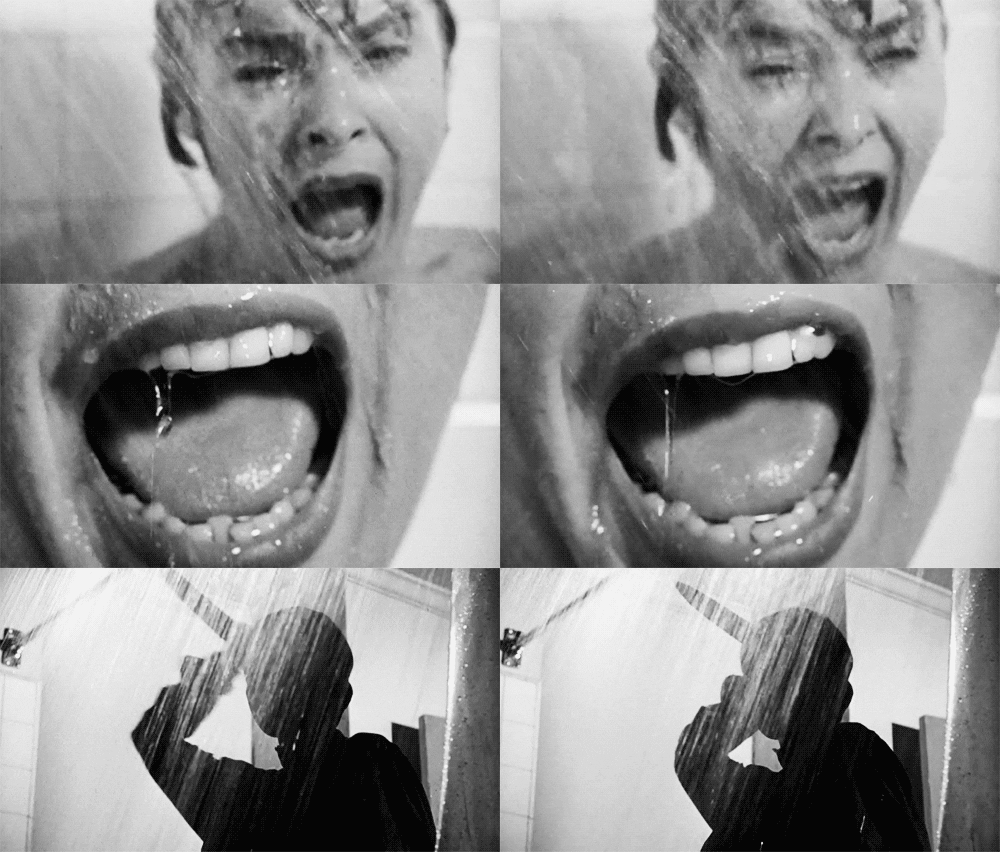
We decided quite early on that we were going to have a masked killer, and for our initial inspiration, we looked at the typical masks that the successful slasher movies had. These included masks from Scream and Texas Chainsaw Massacre, here are some of the masks that we took inspiration and ideas from:
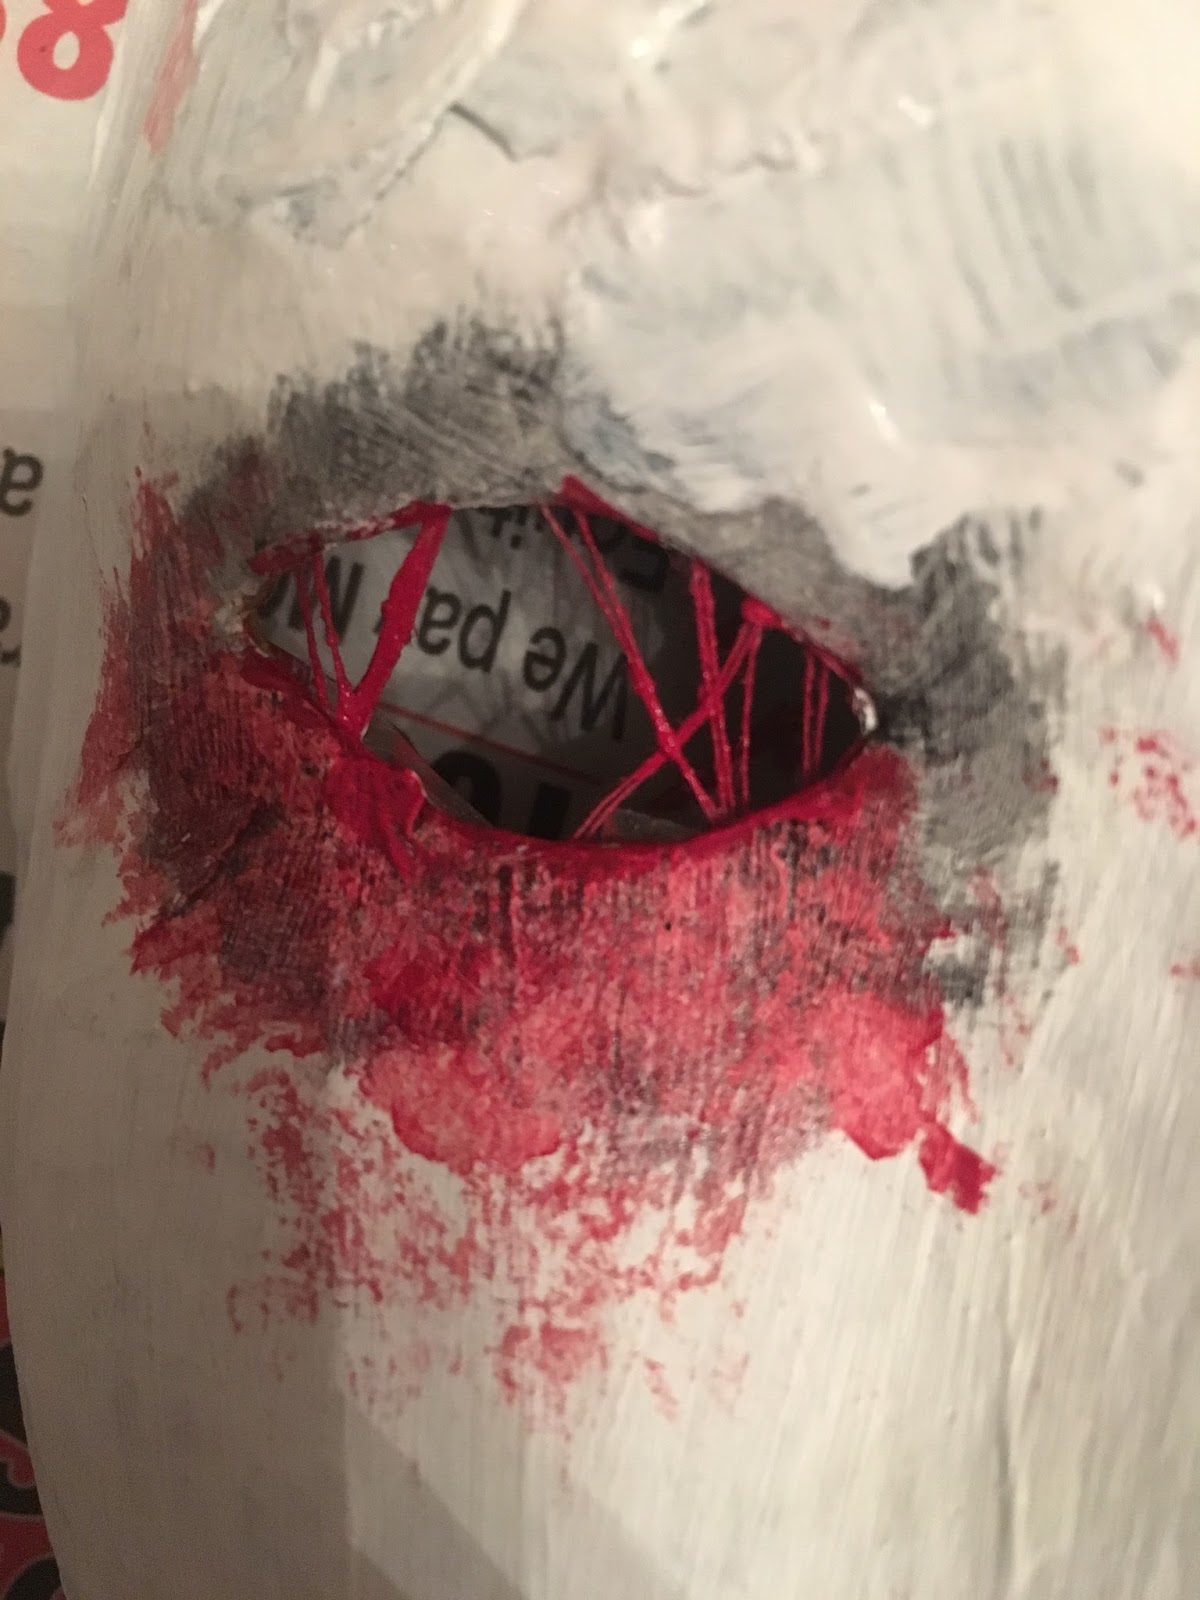
From research, we found that masks were typically white so we decided that our background colour of the mask would be painted in a thick layer of white acrylic paint. We purchased the base of our mask which was made from hard card and papier mache, this look extremely realistic.
Our mask:
We did several trials on the masks, including a black version, however we decided that the mask looked extremely amateurish and was not completed to a high enough standard. Therefore we stuck to the white idea and added splashes of red and black. The eyes were covered with thread and painted red also. The colour red is extremely symbolic and is a colour that is always associated with horror movies.
The final product
This is our final product, we decided to add a 'mouth' like feature which would grab the attention of the audience further. The white contrasts greatly with the dark and sinister red and black colour scheme.
Costume Girl - jumper, girly colours preferably pink, with hair down, black jeans, slippers (as the character is at home, they need to relax)
Boy- jumper, jeans, trainers
Villan - black jeans, plain and simple t-shirt, dark coloured hoodie
Villain
As a technological horror film we would like to keep common conventions of dark coloured clothing but we think by clothing the killer in more recognisable clothing for the modern theme of technology.
The mask the villain is wearing says ignotus which is Latin for unknown, we chose this as the whole essence of a mask is to cover someones faces and conceal identity.
The more recognisable clothes of the killer helps add to the mise en scene of technological the Killer is using it very well
For our story line we decided to use a house rather than hotel rooms, this is because houses are much more practical and easier to obtain rather than book out rooms. Additionally, as we are filming our opening in a house we will especially focus on the aspect of mise en scene which includes props, lighting, camera angles/movement, locations, makeup and costumes. Camera angles and movement
For the camera angles we have discussed using a variety of shots that are typically used in the horror genre. Moreover, the fact that our genre is technology horror, the camera angles may come from the computer or laptop point of view too.
Close up shots
Oblique/canted angle
Point of view shot
Eye level
Medium shot (2/3 people)
Props
Props are used in order to create a realistic and true portrayal of the narrative/plot line. Typically in the horror genre, the use of props is extremely important. For instance, due to the technology side of the opening we must include some sort of electronic device such as laptop or phone.
Since we will be filming the main parts in a bedroom, it is clear that background detail is vital. Shelves, books, magazines, make up and lamps may be used to demonstrate the personality and character of the girl/boy
Typical young teenager items, messy bedroom, studying items, phone, tablets, TV
For the killer, we may choose to use weapons such as knives/guns as these follow the typical code and conventions of a horror film
We can also take into account the use of ropes, chains, tape and blindfolds which are used to scare, kill or kidnap the protagonist
We will be using a mask for the killer - the 'unknown'
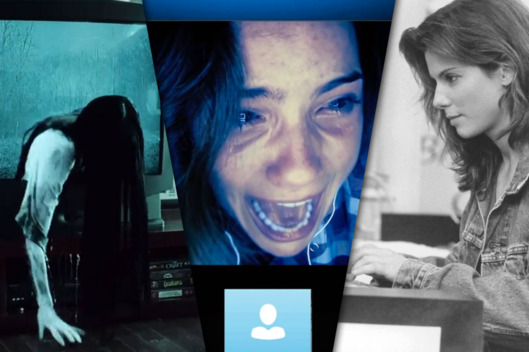
Some technological horror movies do not use props but instead kill the characters over the use of technology itself. This is presented well in the movie 'Unfriended' where the characters die one by one, without the appearance of an actual killer.
Costumes/make up
As our main protagonist will be young and in their teenage years, the types of clothing will be modern showing no signs of horror compared to the killer
Jeans, t-shirts - as the setting is at home, the clothing should be casual in order to make the opening realistic
Killer - dark clothing, red/black again to link in with the conventions of a horror
The use of black clothing has connotations of something sinister, almost a dark figure lurking around
Minimal make up, - nothing too noticeable
Jewelry - preferably a small watch and necklace
Hair - a fringe, that could cover the character, or hair in a pony tail - something simple and casual due to the location of the opening.
Lighting
We have discussed the different types of lighting which can be incorporated into our opening, this includes low key lighting which is popular in horror movies.
The use of low key lighting creates a creepy and mysterious atmosphere as darkness is normally associated with evilness. The darkness is used to make our character feel scared and vulnerable, especially being home alone.
Makes the scene dramatic and there is a constant fear of the unknown due to the darkness
Creates shadow and contrast
Sounds
Use of the 'static' noise sound, when the screen flashes black/goes to static image (Non-diegetic) - we will use this to create tension and suspense in order to 'scare' our audience
Digetic sounds such as the ringing of the door bell, slamming the door, footsteps
Typography
Common titles used in the opening scene include the colours red and black. - red demonstrates the blood
The most popular fonts have blood dripping down the text